Guide · 5 steps
Twitch panel size, and how to upload panels
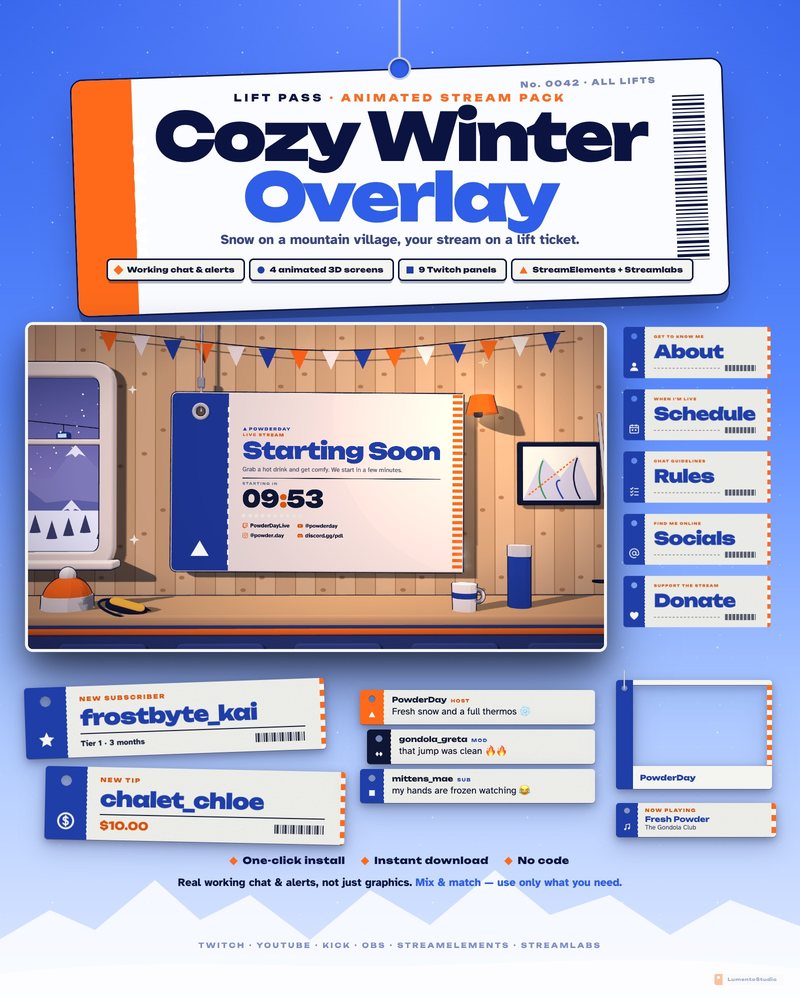
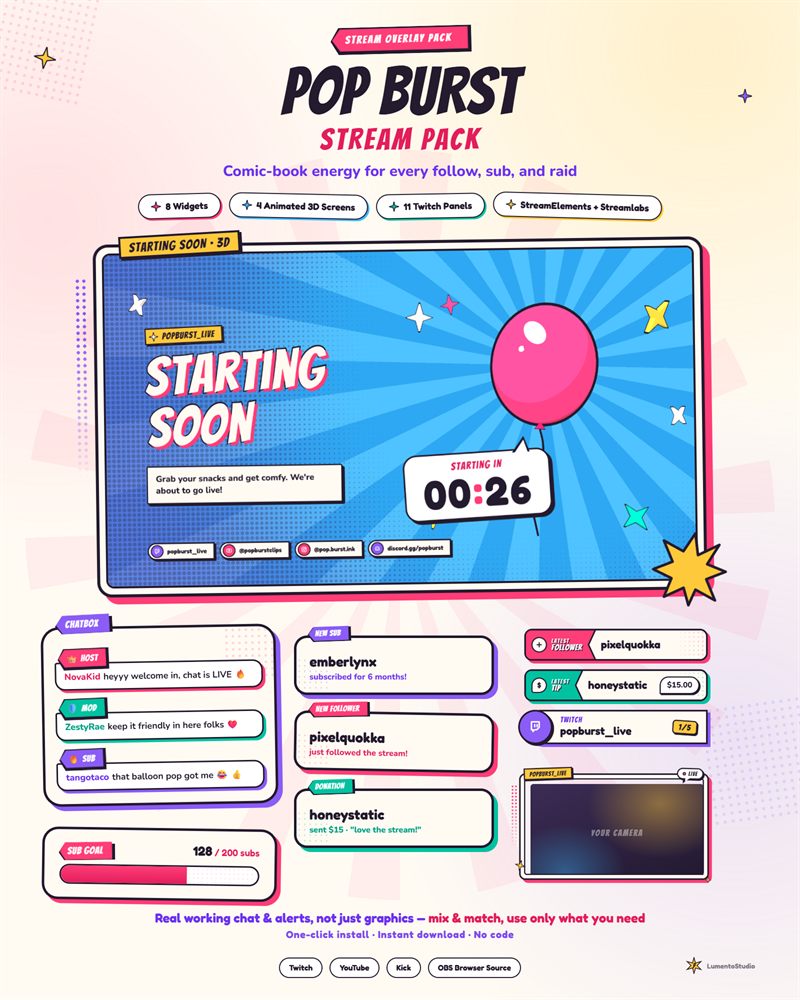
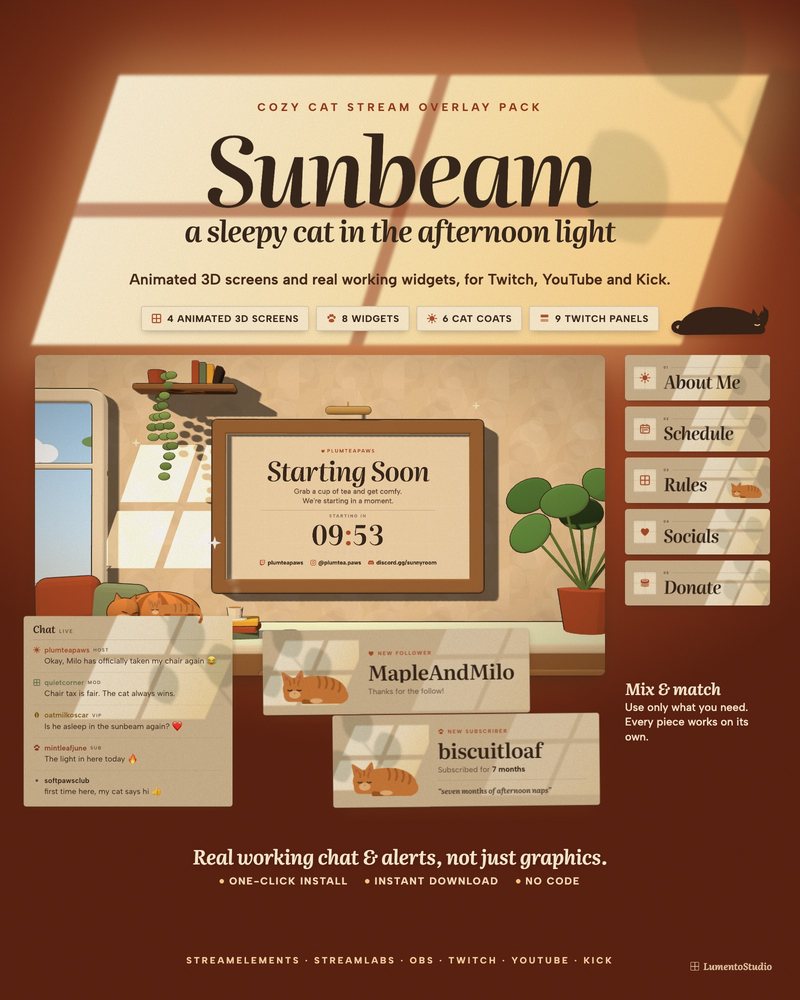
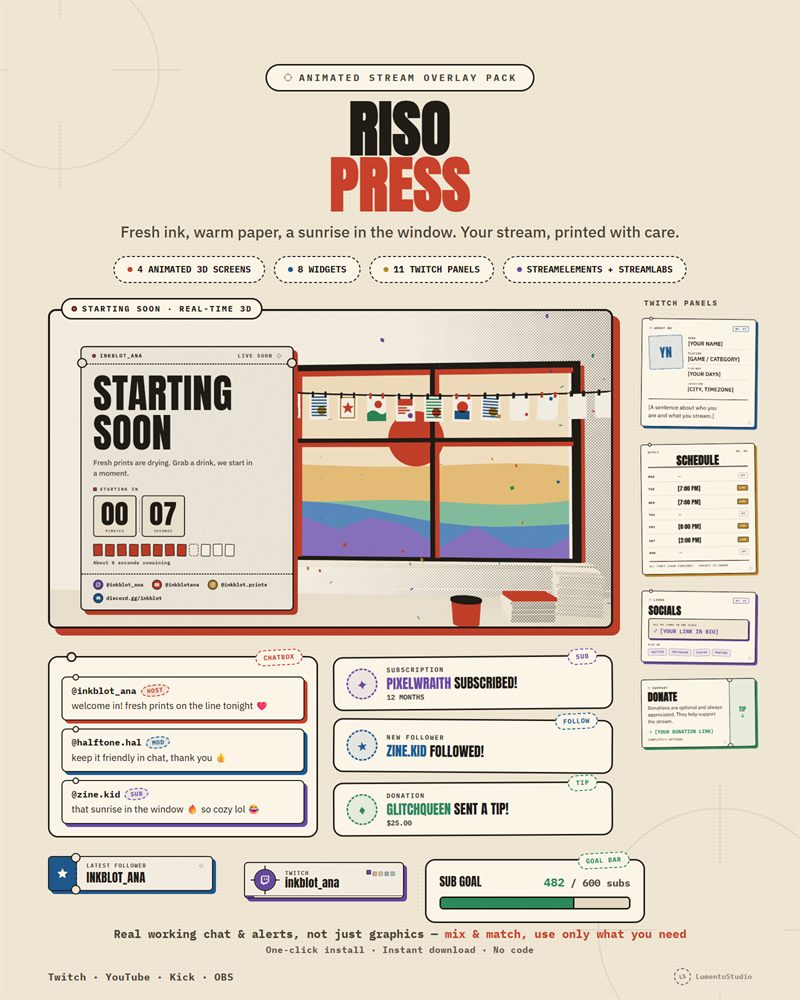
Panels are the image blocks under your stream: About, Schedule, Rules, Socials and so on. They're the first thing people read when they want to know more about you, so they're worth doing properly.
Short answer
Twitch shows panels 320 pixels wide. Export at 320 px wide, or 640 px wide for a sharper result on high-resolution screens (Twitch scales it down). Height is up to you; keep every panel the same height for a tidy column, and keep files small (PNG or JPG, well under 1 MB).
Panel size cheat sheet
| Setting | Recommended |
|---|---|
| Width | 320 px (displayed size), or 640 px for extra sharpness |
| Height | Your choice. Header-style panels are often 100–160 px at 320 wide; keep them consistent |
| Format | PNG for graphics and text, JPG for photos |
| File size | As small as possible; under 1 MB is safe |
Text inside a panel image can't be clicked or translated, so keep the image short (a title like Schedule) and put the details in the panel's description field.
Step by step
Open your channel page
Go to your Twitch channel while signed in and open the About tab, or scroll below the video player.
Turn on Edit Panels
Switch on the Edit Panels toggle. A large + box appears where panels can be added.
Add an image panel
Click + and choose Add a Text or Image Panel. Upload your panel image, add an optional link (the image becomes clickable) and write the description that appears under the image.
Submit and repeat
Click Submit, then add the rest of your panels the same way. Drag panels to reorder them.
Turn off Edit Panels
Switch the toggle off and check how the column looks to viewers.
Which panels should you have?
Most channels need About, Schedule, Rules and Socials. Add Donate or Support, Commands, My Setup and FAQ if they apply to you. A blank panel lets you add your own title for anything else.