Short answer
Add your camera as a Video Capture Device, add the frame as a Browser or Image source, and drag the frame above the camera in the Sources list. Crop the camera to the frame's aspect ratio (Alt-drag on Windows, Option-drag on Mac), line it up with the opening, then group and lock both.
Step by step
Add your camera
In Sources, click +, choose Video Capture Device and pick your webcam. VTubers: add your model's capture source here instead.
Add the frame
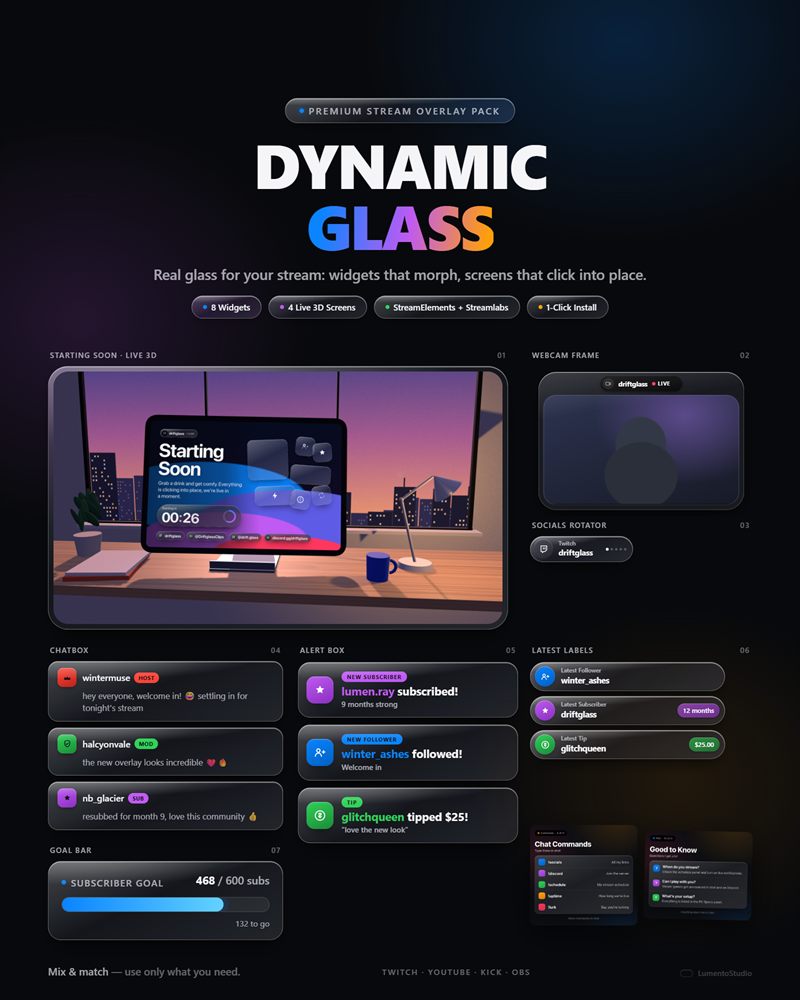
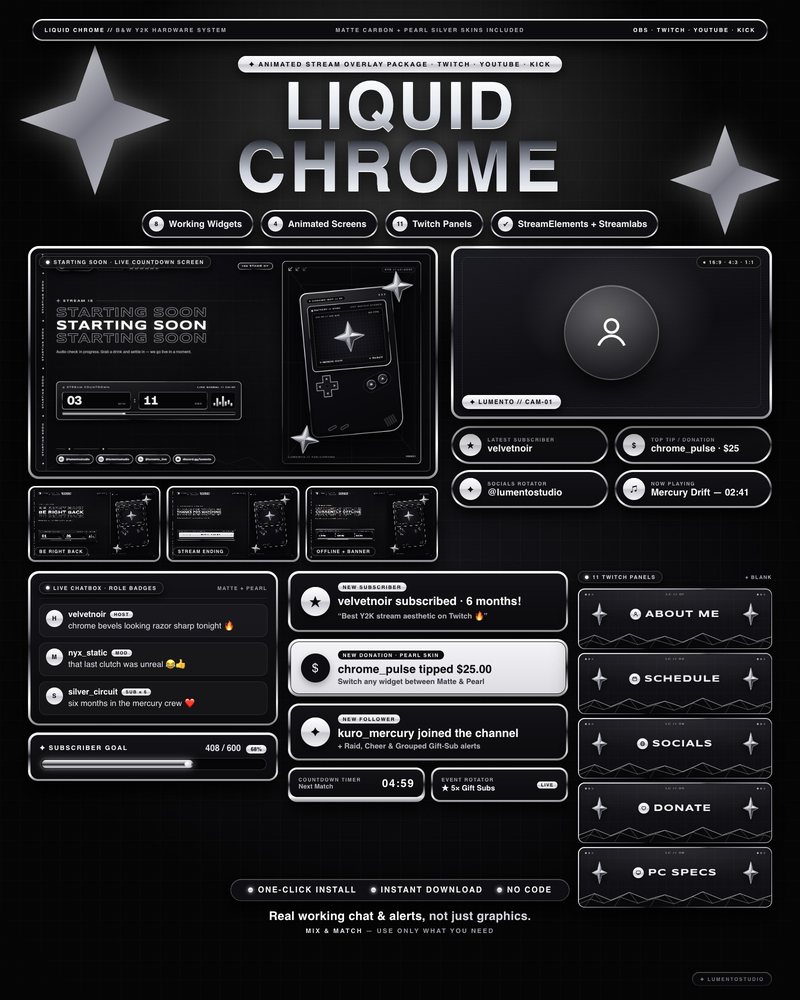
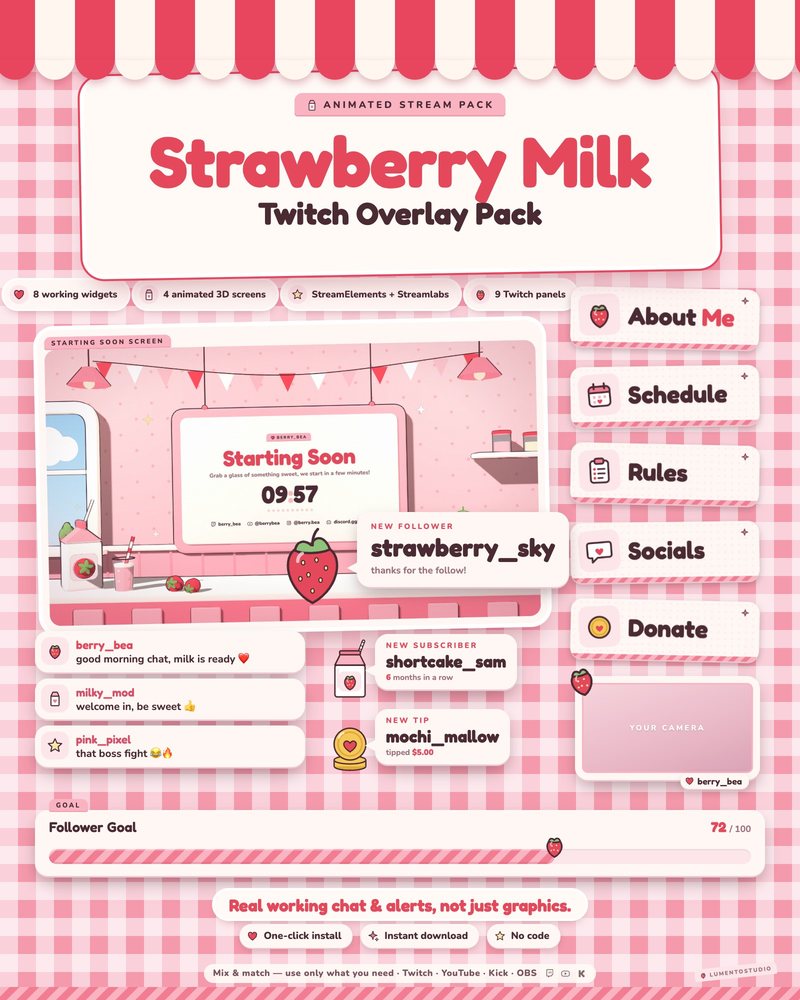
Add the frame as a Browser source (animated HTML or StreamElements URL) or an Image source (PNG). Our animated frames have a transparent center.
Put the frame on top
In the Sources list, drag the frame above the camera. OBS draws the top of the list in front.
Match the aspect ratio
Pick the frame ratio that matches your camera (16:9, 4:3 or 1:1). To crop the camera, hold Alt (Windows) or Option (Mac) and drag its edges, or use Filters › Crop/Pad.
Line up, group and lock
Resize the camera to fill the opening, select both sources, right-click and choose Group Selected Items, then click the lock icon so they move together and don't shift.
Tips for a clean result
- Leave a few pixels of the camera under the frame's inner edge so no gap shows when the frame animates.
- For rounded corners on the camera itself, use an Image Mask/Blend filter.
- Copy the group into other scenes with Paste (Reference) so edits apply everywhere.