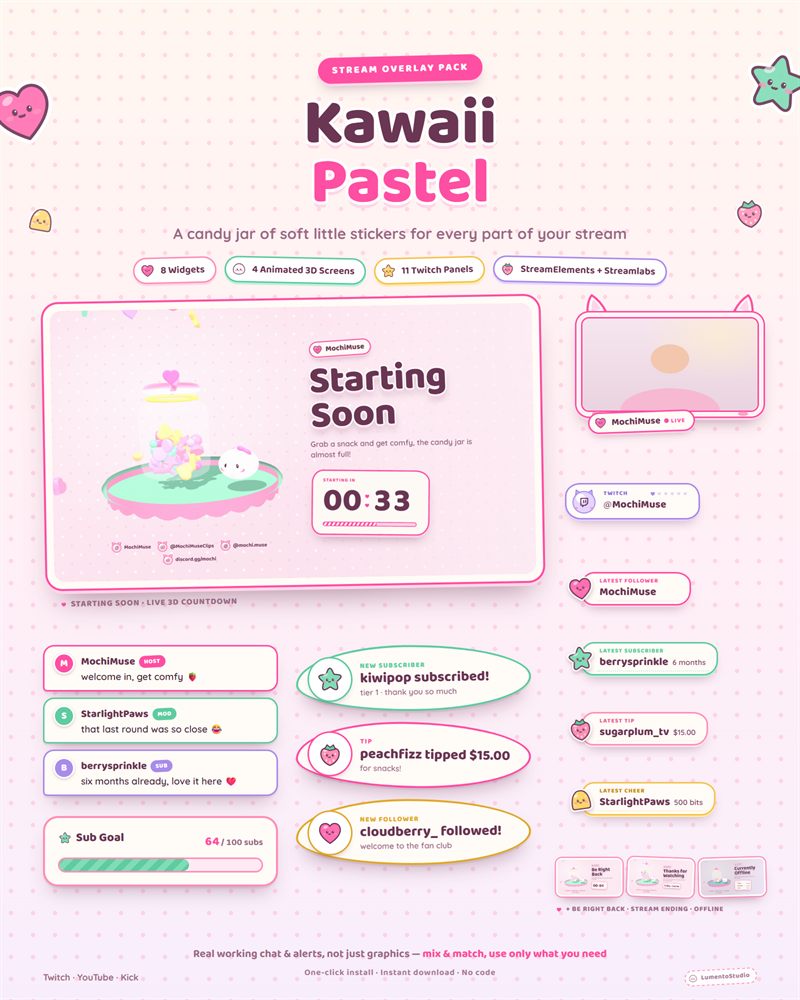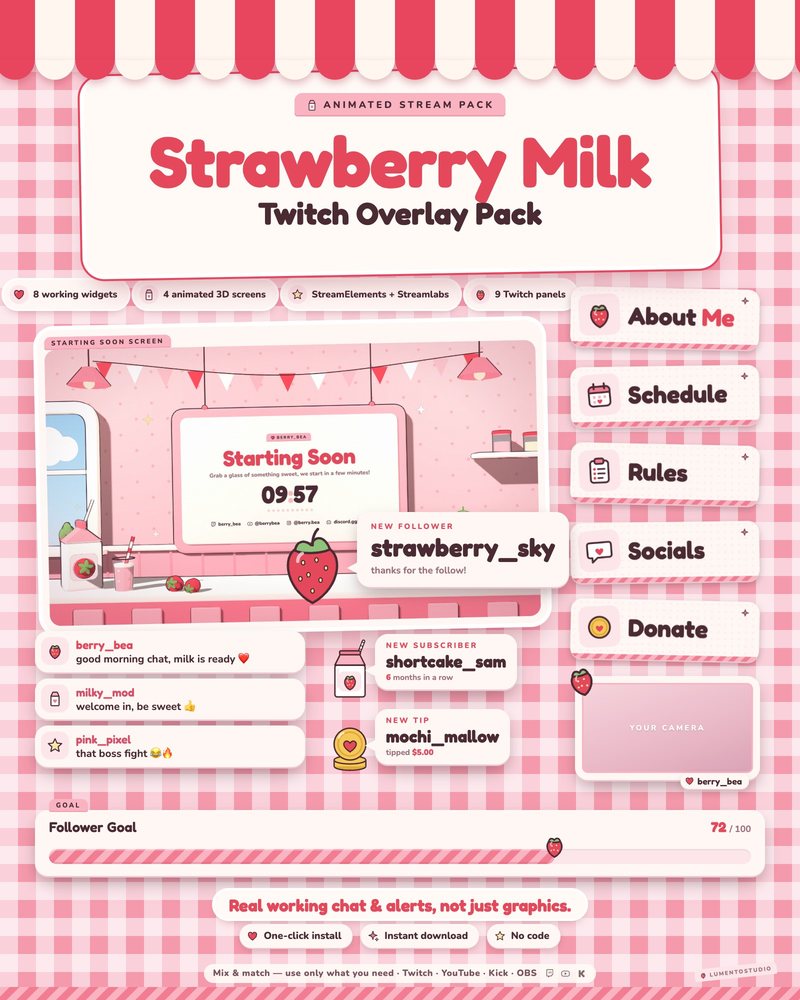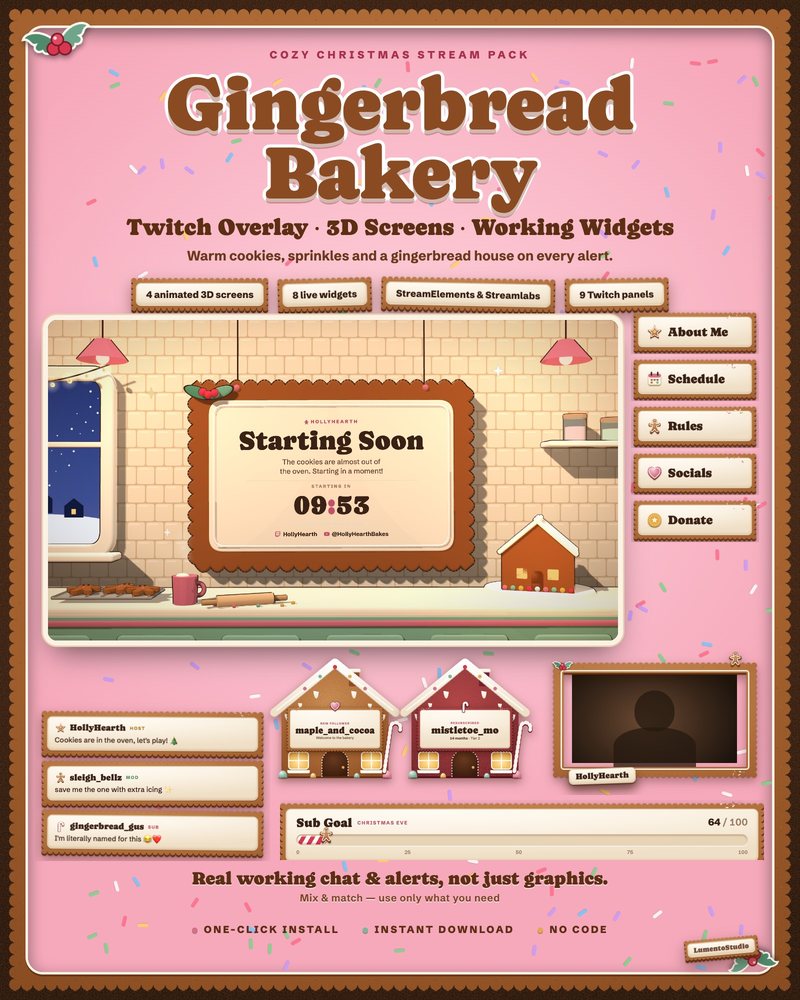
Short answer
Bring your model into OBS with a transparent background (Spout2 or Game Capture with transparency from VTube Studio), place it on the canvas, then add chat, alerts and a frame as separate browser sources. Keep widgets to the sides and top of the model, and group the model with its frame.
Step by step
Add your model with transparency
In VTube Studio, the main options on Windows are Spout2 (install the Spout2 plugin for OBS, then add a Spout2 source) or a Game Capture with the app's transparent capture option turned on. Other VTuber apps offer similar outputs; check their documentation.
Place the model
Decide where your model lives, usually the bottom right or bottom left third of the screen, and size it so the face sits at roughly eye level for viewers.
Frame it
Add a webcam frame as a Browser source above the model in the Sources list. A frame with a transparent center works around a model the same way it works around a camera.
Add chat and alerts
Add your chat box on the opposite side to the model, and the alert box above or beside it. Each widget is its own source, so you can move them per scene.
Group and lock
Select the model and its frame, right-click and choose Group Selected Items, then lock the group so it doesn't shift.
Check every scene
Copy the group into your other scenes with Paste (Reference) and make sure nothing covers the model's face on any of them.
Layout tips
- Leave room for your model's movement. Hands and hair can move well outside the resting pose.
- Keep alerts away from the face. A big alert over your model hides your reaction, which is the point of the alert.
- Soft, pastel overlays with solid widget plates read well next to a colorful model.
Overlays for VTubers
See our VTuber overlays: every pack's webcam frame comes in 16:9, 4:3 and 1:1 and works around a model. The webcam frame guide covers cropping and layering.