Short answer
In StreamElements, open (or create) an overlay with an Alert Box widget, click the link icon to copy the overlay URL, then in OBS add a Browser source, paste the URL, set it to the overlay's size (usually 1920×1080) and click OK. Use Emulate in the overlay editor to send a test alert.
Step by step
Open your overlays
Sign in at streamelements.com, go to Streaming tools › My overlays and open the overlay you want, or create a new one at 1920×1080.
Add or check the alert box
In the overlay editor, add an Alert Box widget if there isn't one yet, adjust its settings and click Save.
Copy the overlay URL
Click the link icon at the top of the editor to copy the overlay URL. Keep it private; anyone with it can show your overlay.
Add it to OBS
In the Sources panel, click +, choose Browser, give it a name and click OK. Paste the URL into URL, set Width 1920 and Height 1080 (the overlay's size), and click OK.
Send a test alert
Back in the overlay editor, use Emulate to fire a test follow or sub. It should appear in OBS within a second or two.
If alerts don't show up
- Check that the browser source is visible in the current scene, and that it's above your game or camera in the Sources list.
- Right-click the source and choose Refresh after you change anything in StreamElements.
- No sound? Tick Control audio via OBS in the browser source and check the source isn't muted in the Audio Mixer.
- Make sure you copied the overlay URL, not the editor URL from your browser's address bar.
Skip the setup with a ready-made pack
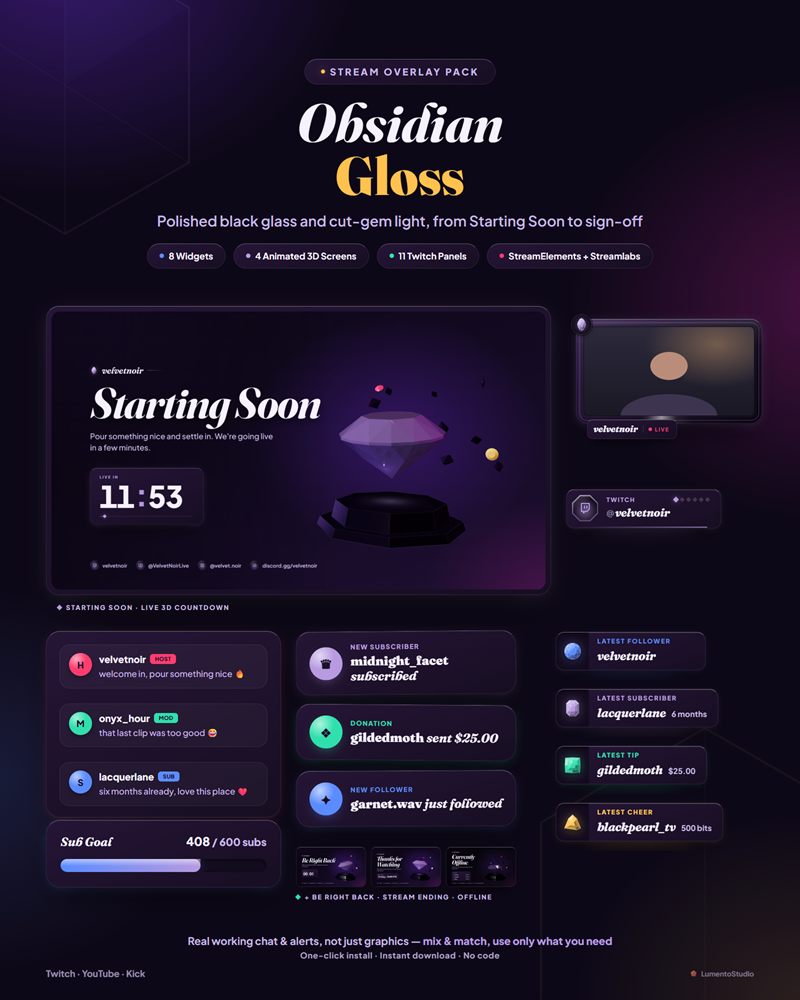
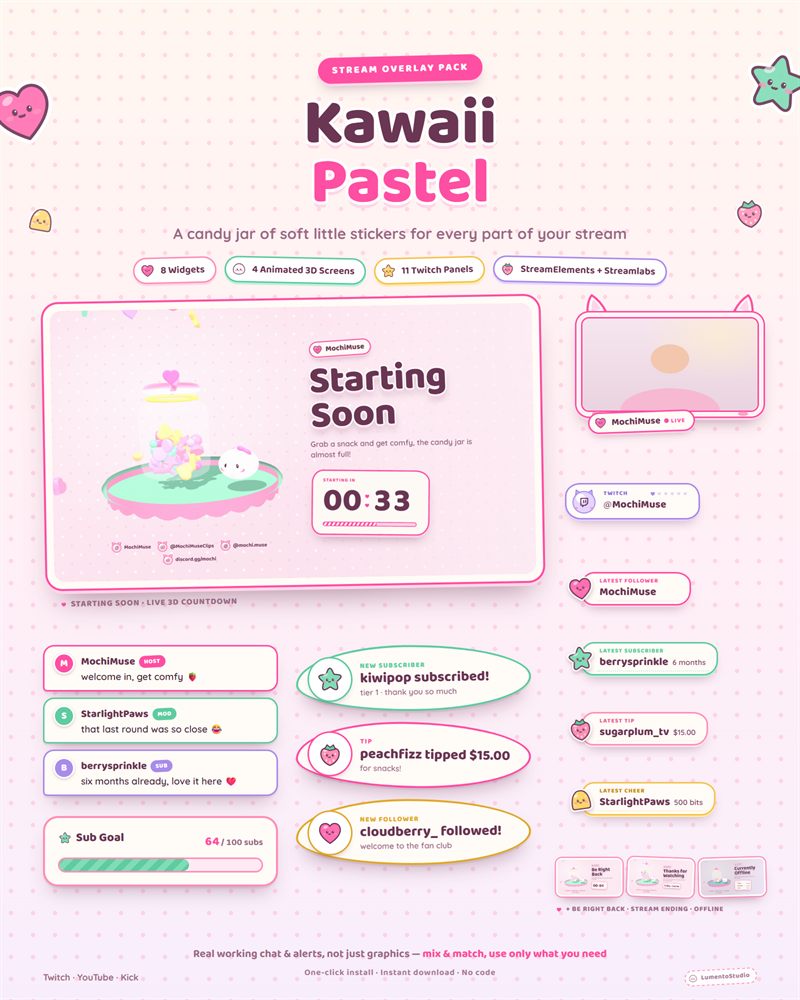
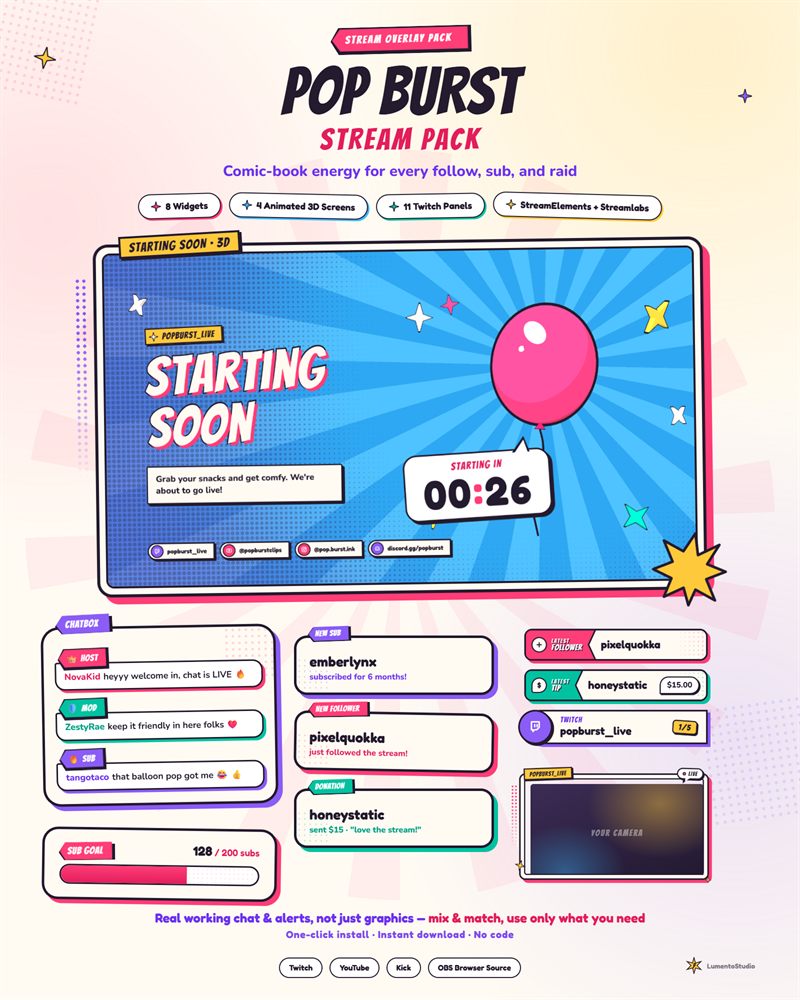
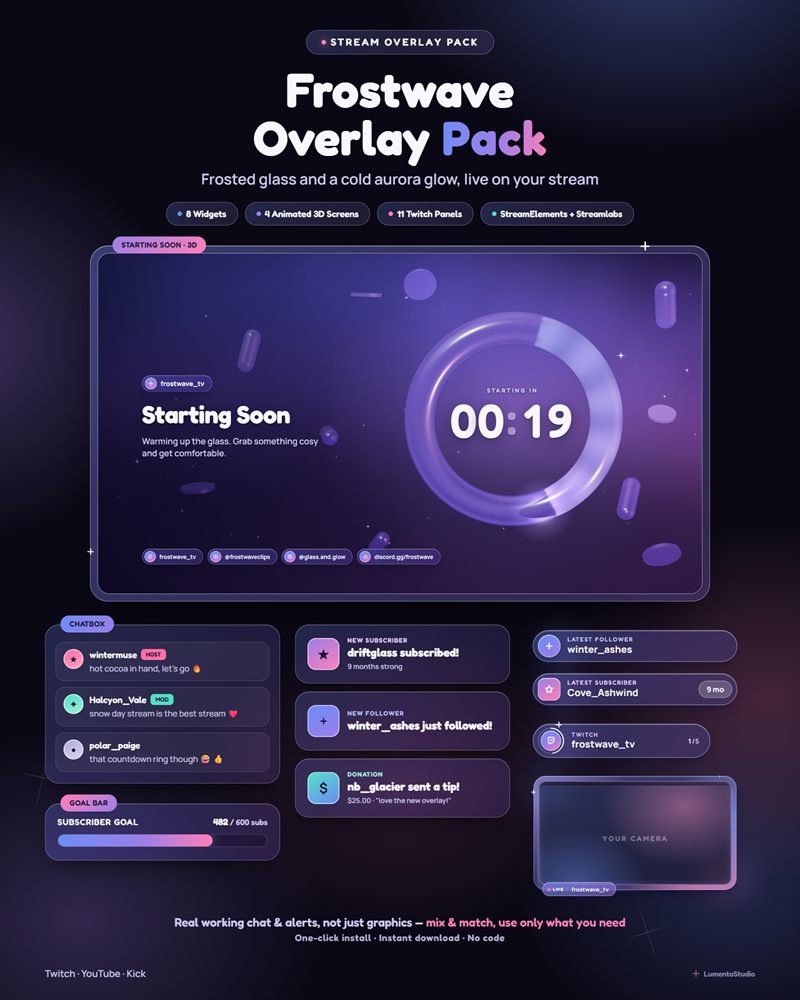
Our packs install in one click: the StreamElements link adds a complete overlay with alerts, chat, goals and more to your account. You only do step 4.