Short answer
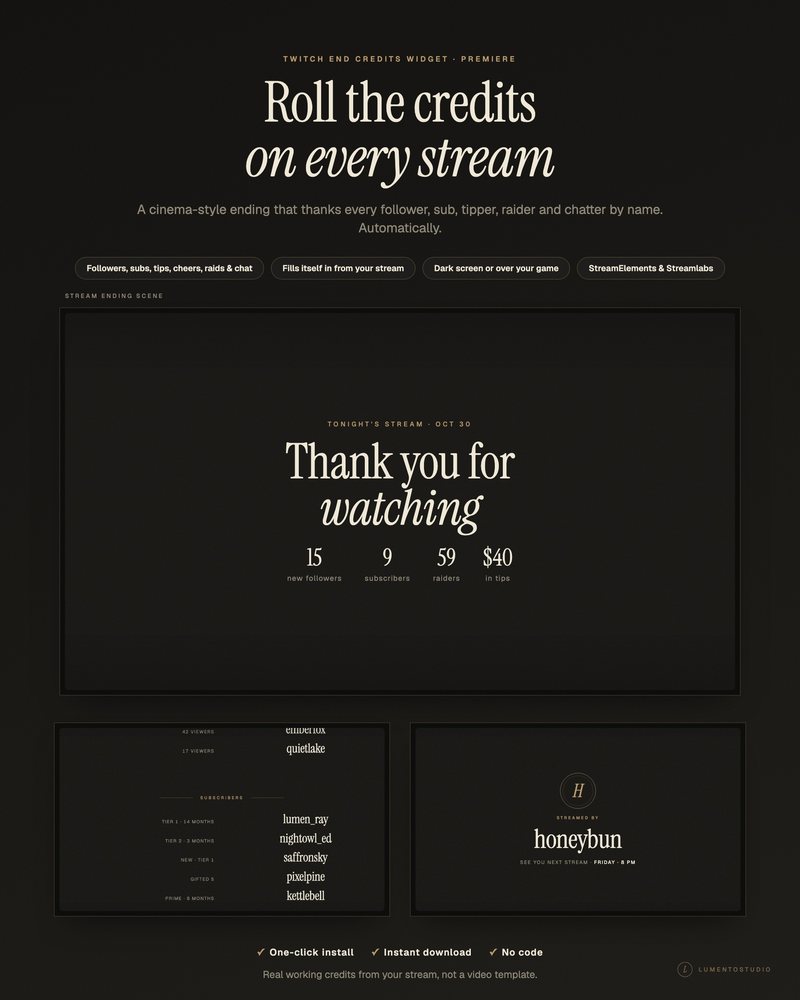
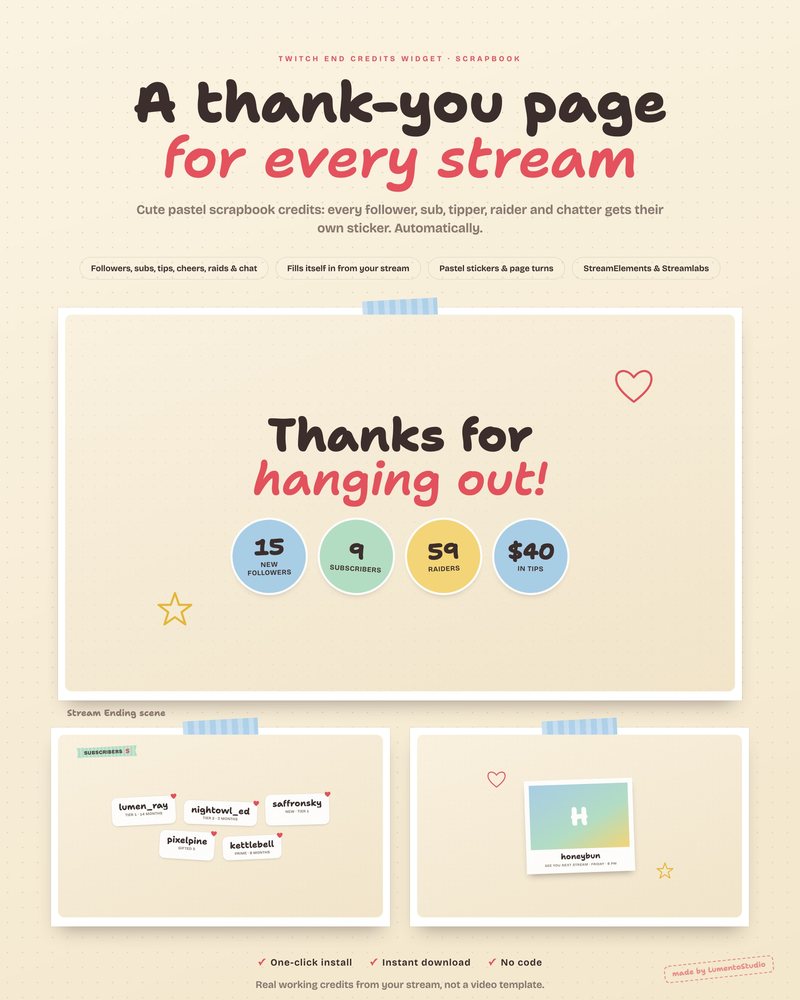
Create a Stream Ending scene and add your ending screen (or an end credits widget) as a 1920×1080 Browser source. Switch to it when you wrap up, let it run while you thank chat and start a raid, then stop the stream.
Ending screen or end credits?
| Ending screen | End credits widget | |
|---|---|---|
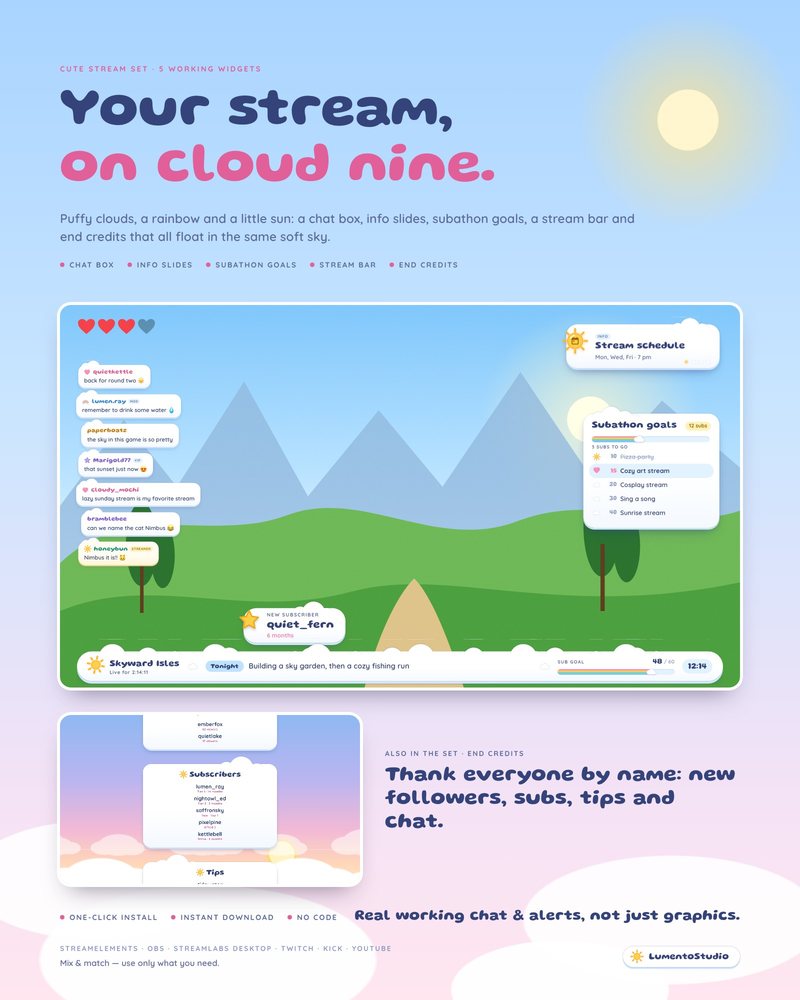
| What it shows | A designed "thanks for watching" screen with your text | A scrolling list of tonight's followers, subscribers, raiders and chatters |
| Setup | An HTML or video file in OBS | A StreamElements or Streamlabs widget that reads your events |
| Best for | Any channel | Channels with an active chat that likes seeing its names |
Step by step
Create the scene
In the Scenes panel, click + and name the scene Stream Ending.
Add the ending screen
In the Sources panel, click +, choose Browser, give it a name and click OK. For an HTML screen, tick Local file and pick the file (for example stream_ending.html); for a credits widget, paste its StreamElements overlay URL or Streamlabs widget URL. Set 1920×1080.
Make credits fill in
End credits widgets list what happened while they were loaded or what the service remembers. Add the credits source to your scenes before you go live, following the widget's guide, so it collects names during the stream.
Add your voice and music
Keep your mic on: the ending is when you thank people by name. Lower your music so you can be heard.
Raid, then stop
While the screen runs, start a raid to another channel (type /raid followed by the channel name in your chat). When the raid goes out, stop the stream.
Tips
- Tick Refresh browser when scene becomes active on an ending screen so its animation starts from the top each time.
- Put your next stream day and time on the ending screen. It's the moment people are most likely to remember it.
- Use the same scene hotkey trick as for your Be Right Back screen.